Fall Pumpkin Mini Cross Stitch Chart
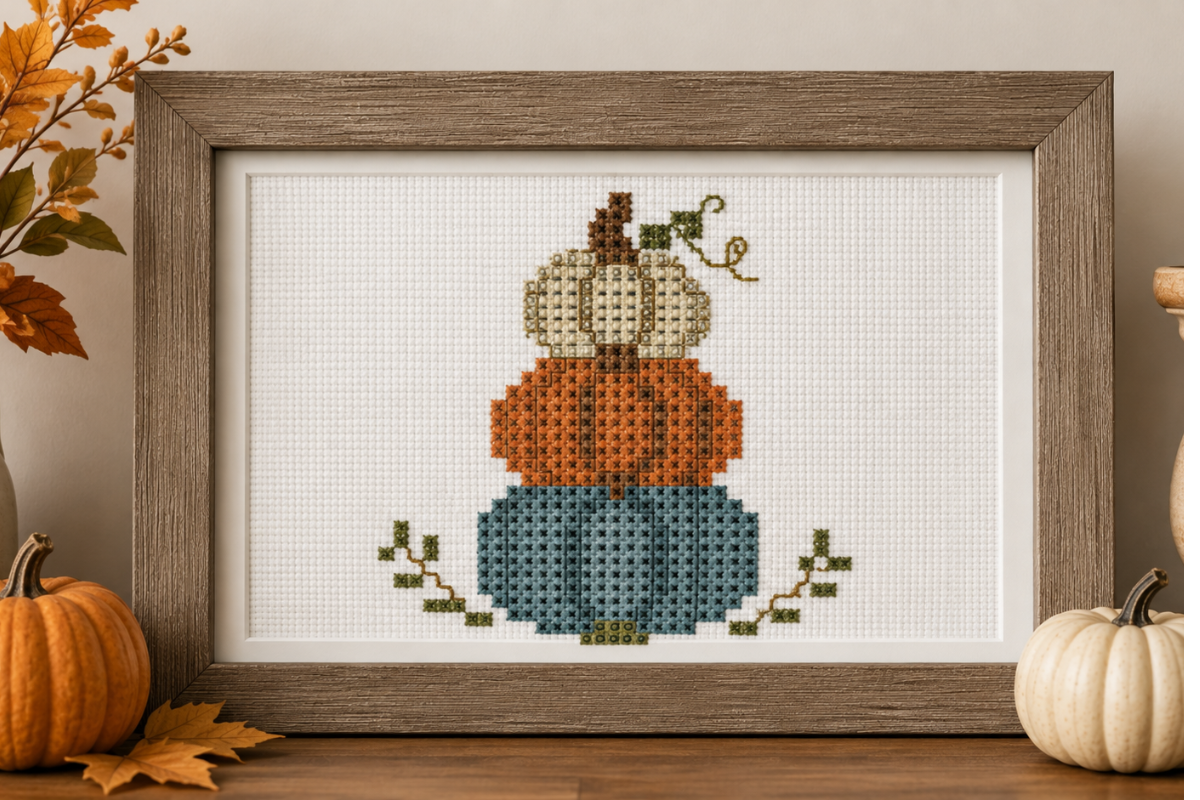
There’s something so satisfying about stitching a little bit of fall into your home, and this Fall Pumpkin Mini Cross Stitch Chart is a fun project to make when you want something quick, seasonal, and beginner-friendly. The design features three pumpkins stacked together in warm autumn colors, creating a charming little piece that would look right at home with your fall decorations.
Mini cross stitch patterns are especially nice when you don’t want to commit to a large project. You can stitch one in an afternoon or work on it a little at a time while enjoying your favorite fall movie or a cup of coffee. Because this design is small, it also makes a great project for beginners who are learning how to read a cross stitch chart.
The pumpkins use classic autumn shades, including cream, orange, blue-gray, brown, and green. The combination gives the design a slightly rustic farmhouse feel while keeping it colorful enough to stand out.
Once your stitching is finished, there are several ways to display it. Place it in a small embroidery hoop for a simple finished look, frame it with a mat for a more polished display, or add it to a tiered tray or seasonal gallery wall.
Whether you’re making this for yourself or as a handmade fall gift, this Fall Pumpkin Mini Cross Stitch Chart is a sweet little project to add to your autumn stitching list.
Don’t forget to sign up for our daily free cross stitch pattern. We send that out via email every Monday, Wednesday and Fridays at 8:00 p.m. Eastern Standard Time.
Materials
Here’s what you’ll need to make this mini cross stitch pattern:
- 14-count white Aida cloth
- DMC embroidery floss in the colors listed on the chart
- Embroidery needle
- Small embroidery hoop
- Small scissors
- Cross stitch chart
- Optional: needle minder
- Optional: small frame or hoop for displaying your finished stitching
You can use a different fabric count if you prefer. Just remember that changing the fabric count will change the finished size of your design.
Free Fall Pumpkin Mini Cross Stitch Chart
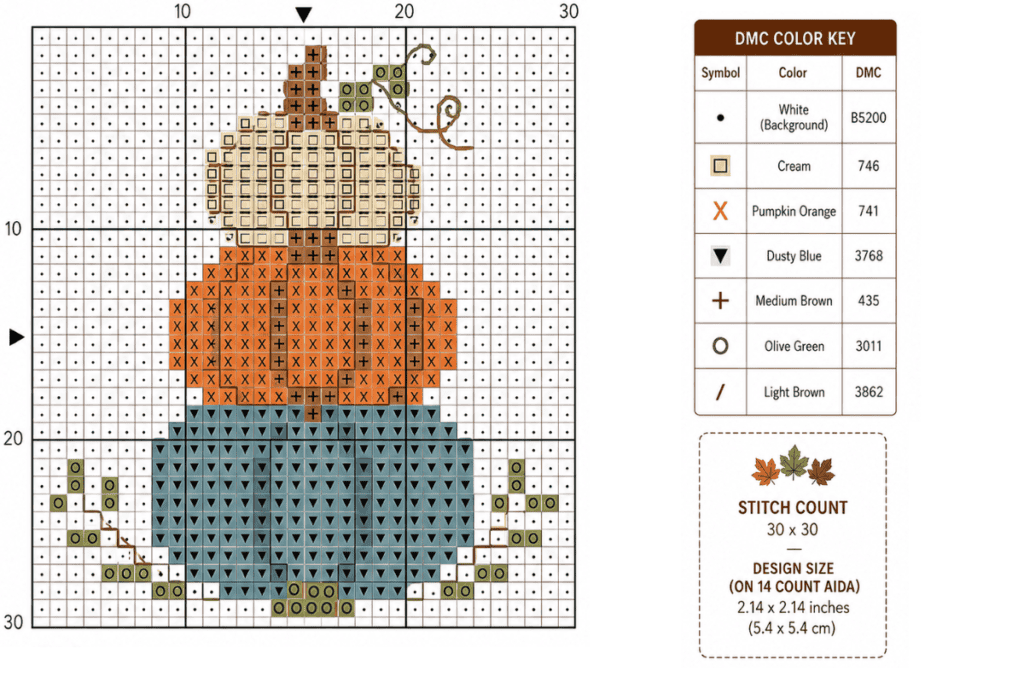
Ready to start stitching?
You can keep the website open and use the symbols and color key to stitch your own stack of colorful autumn pumpkins.
The chart is designed to be easy to follow, making it a great small project for both beginning and experienced cross stitchers.
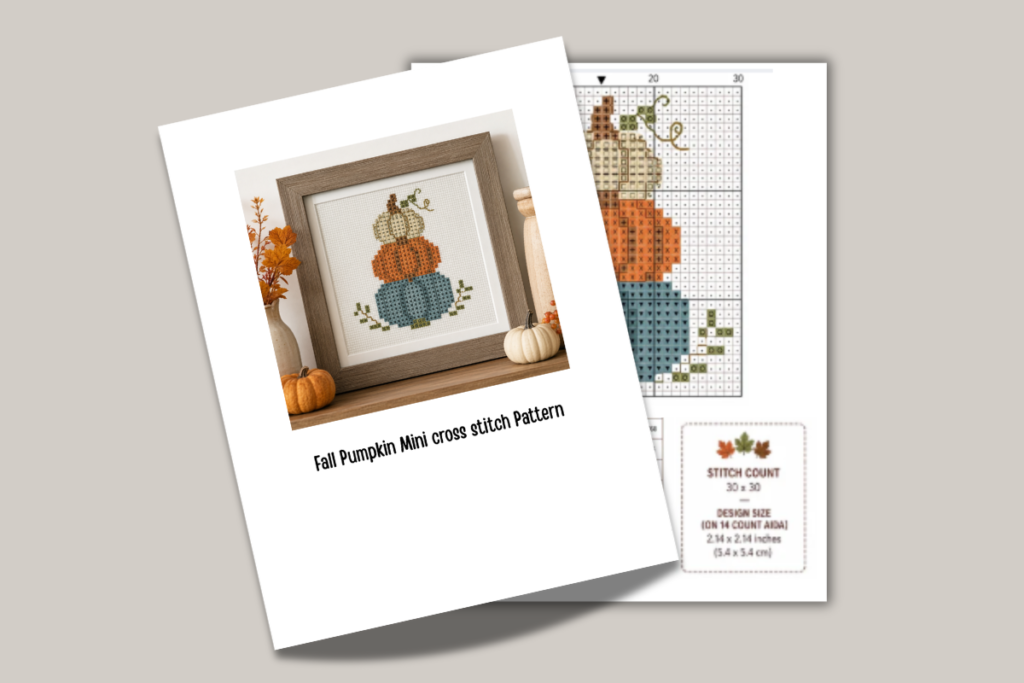
PDF of Fall Pumpkin Mini Cross stitch Pattern
Tips for Stitching the Chart
Before you begin, take a moment to find the center of your fabric and the center of the design. Starting from the center can help make sure your finished design is positioned correctly.
I also recommend stitching in good lighting, especially when working with similar shades of floss.
For the cleanest finished project:
- Cut your Aida cloth several inches larger than the stitched design.
- Find the center of your fabric.
- Mark the center temporarily if desired.
- Begin stitching from the center of the chart.
- Follow the symbols carefully and refer to the color key as you work.
- Add any backstitching or detail shown on the chart.
- Gently wash and press your finished piece if needed.
- Finish it in a small hoop or frame.
How to Display Your Finished Pumpkin Cross Stitch
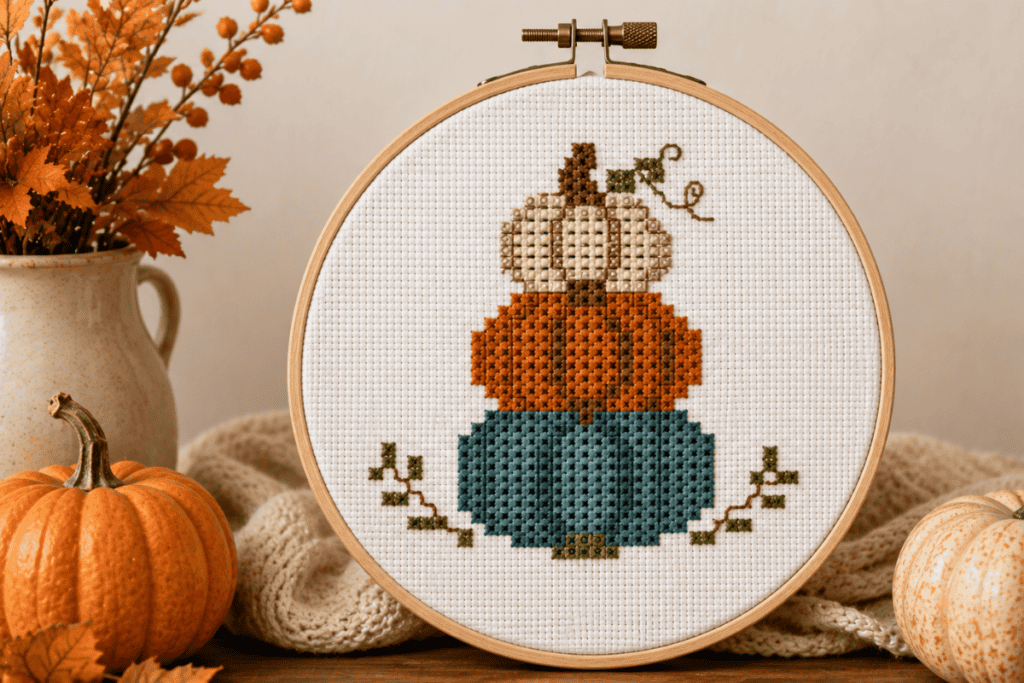
One of the best things about a mini cross stitch design is that you don’t need a complicated finishing method.
Embroidery Hoop
Leave the finished stitching in a small wooden embroidery hoop for an easy farmhouse-style display. You can trim or neatly finish the excess fabric around the back of the hoop.
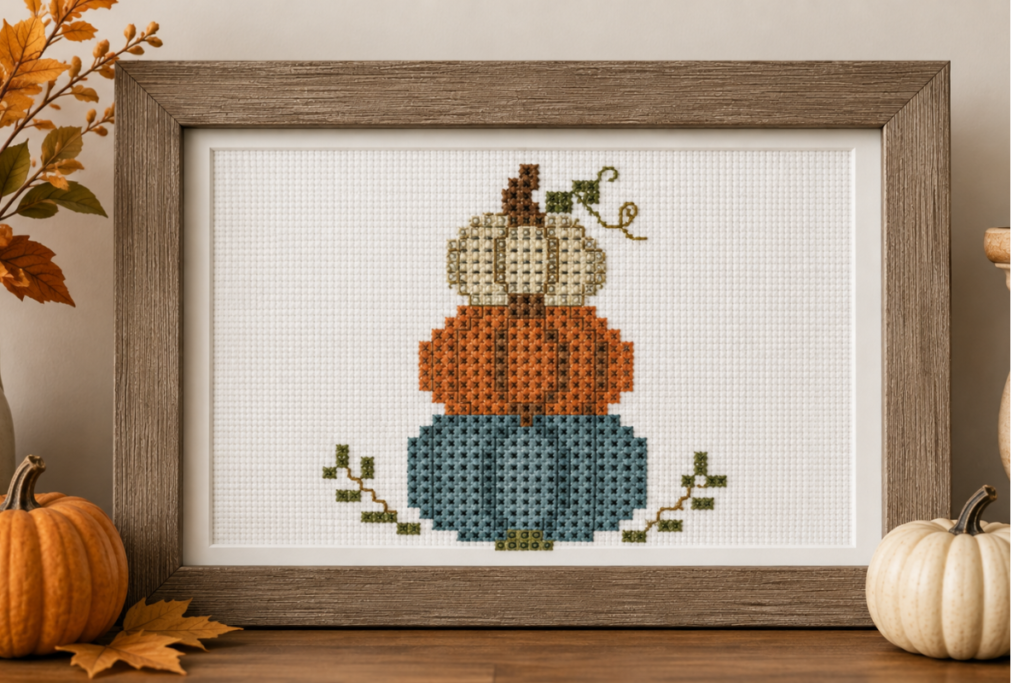
Small Frame
A small frame with a white or cream mat gives the pumpkin design a more finished appearance. Try a rustic wood frame for a cozy fall farmhouse look.
Seasonal Tiered Tray
If you enjoy decorating tiered trays, this would make a cute seasonal accent. Place the finished cross stitch alongside miniature pumpkins, fall leaves, and other autumn decorations.
Handmade Gift
Small cross stitch projects also make thoughtful handmade gifts. Stitch one for a friend, family member, teacher, or anyone who enjoys decorating for fall.
Frequently Asked Questions
Is this Fall Pumpkin Mini Cross Stitch Chart good for beginners?
Yes! The small size makes this a manageable project for someone who is new to cross stitch. If you’re learning, take your time reading the chart and counting your stitches.
What fabric should I use?
14-count Aida cloth is a great choice for this project. You can use another fabric count, but keep in mind that the finished design will be a different size.
How do I know where to start?
Start by finding the center of both your fabric and the cross stitch design. This helps you position the design correctly and gives you a good starting point for counting.
Can I use different colors?
Absolutely. The suggested colors create a traditional fall palette, but you can customize the pumpkins to match your own fall decorating style.
Can I stitch this design in an embroidery hoop?
Yes. A small wooden hoop is a simple and attractive way to display the finished pumpkin design.
Can I frame the finished cross stitch?
Definitely! A small frame is another great way to display your finished stitching. A rustic wood frame would complement the fall colors beautifully.
How long does this project take?
Because this is a mini design, it can be completed much faster than a large cross stitch project. Your stitching speed and the amount of detail you add will determine the exact time.
Start Stitching!
Grab your Aida cloth, choose your favorite fall colors, and settle in for a relaxing little stitching project. This Fall Pumpkin Mini Cross Stitch Chart is a simple way to bring handmade autumn décor into your home.
And once you’ve finished stitching, don’t forget to display your pumpkins where you can enjoy them all season long!